Tuesday, February 26, 2013

miadanDesigns has a new home! www.miadanDesigns.com

Hello my fabulously wonderful people!

Great news!

I just launched my official web page.

Which means, thank you for visiting me on this site, but please now visit my official site at:


Thank you and mucho love!!
xoxo,


Tuesday, February 19, 2013

Treasuring Sweet Nothingness...Even Through Chaos

I was having one of THOSE days today.
You know what I'm talking about.

It was NOT, the "multi-tasking mastering, kids-are-so-awesomely-behaved-I-look-like-the-SuperNanny, feeling good about the way I look today" kinda' day.

Oh no, no, no.

It felt more like this...


I knew it was going to be a long day when I could not find anything to wear. AKA, nothing felt right. Then top it off with not being able to wake my child up from whatever sleep spell he had fallen under the night before. Daniel is normally my little human alarm clock. He wakes me up every morning like clock-work. Except for today.

He was in such a deep sleep, he looked and sounded like he had been hibernating all winter. After 5 minutes of pulling blankets off of his limp body, opening all of the shades, and tickling his back, he finally blinked and I knew there was a glimmer of hope...

That is...until I made it into my office. Ay ya yay! One email after another of negative news and deadlines that had to be completed by the end of the day. Really? One person can only take but so many deadlines in one day. Let alone, when they are written with such vengeance you would think we were fighting to cure a disease or win a war. It's just business...Just sayin'.

So I shrugged my shoulders and dashed to and from client meetings, trying to get as many deadlines done as I could. I did NOT finish. But I did NOT let that stop me from smiling and hugging the kids when I gloriously picked them up.

It was the highlight of my day. Daniel redeemed himself by offering to "cook" us dinner. He pushed his little chair over to the kitchen counter and made us all ham and cheese sandwiches. Hubby said it was the best sandwich he had ever eaten. Daniel smiled and Mia laughed.

Amidst all of the chaos during the day, I am thankful. I'm thankful today to have my family by my side, during chaos or calm, eating ham and cheese sandwiches and chuckling at sweet nothingness.

Here's to a positive outlook on whatever tomorrow may bring...


xoxo

Sunday, February 17, 2013

A Brunch Play Date Full of Love and Art

I. Am. Done.
Tired, done.

After the past few days of Valentine celebrations, I am using today to crash and regain my energy.

Although, I must admit, the OCD-ish part of me has already taken down all of the Valentine decor to make room for the upcoming Spring, which I love so much, I can just taste it!

But, before we move on, I must share some of the fun we've had. This year, I had my heart set on hosting a Valentine brunch and art play date with the kids. I wanted them to get involved and share their love and appreciation for some of their friends.
We started the morning with brunch. A simple table setting with plates from the dollar store, a (never used before) kitchen rug I used as their table cloth, and hand-painted cups.
To make these heart cups, you will need a few simple materials:
1. red paper cups
2. white craft paint
3. sponge
4. pink glitter
5. thick paper for heart template
First, cut out a heart template from the thick paper and tape onto the front of your cup. Next, use the sponge to tap the paint over the template onto the cup.

Finally, sprinkle pink glitter over the paint as a final touch.
After brunch, the kids bolted straight to the art table.


The art table included smocks for each child (found at the Dollar Tree), paints, glitter, stickers, pompoms, and plenty of paper! I decided to make the banner in the background the night before, and was shocked at how quick and simple it was to make! All you need are:
1. brown paper bags
2. red construction paper
3. a glue stick
4. ribbon or twine to hang the banner

You simply cut a triangle top out of the bottom opening of the bag as it is laying flat. Then take your red construction paper, fold it into half vertically and cut out half of the heart along the fold. Similar to this, but smaller:
Glue the hearts onto the front of the bags. Then tuck the bag fold over the ribbon and hang! So simple.

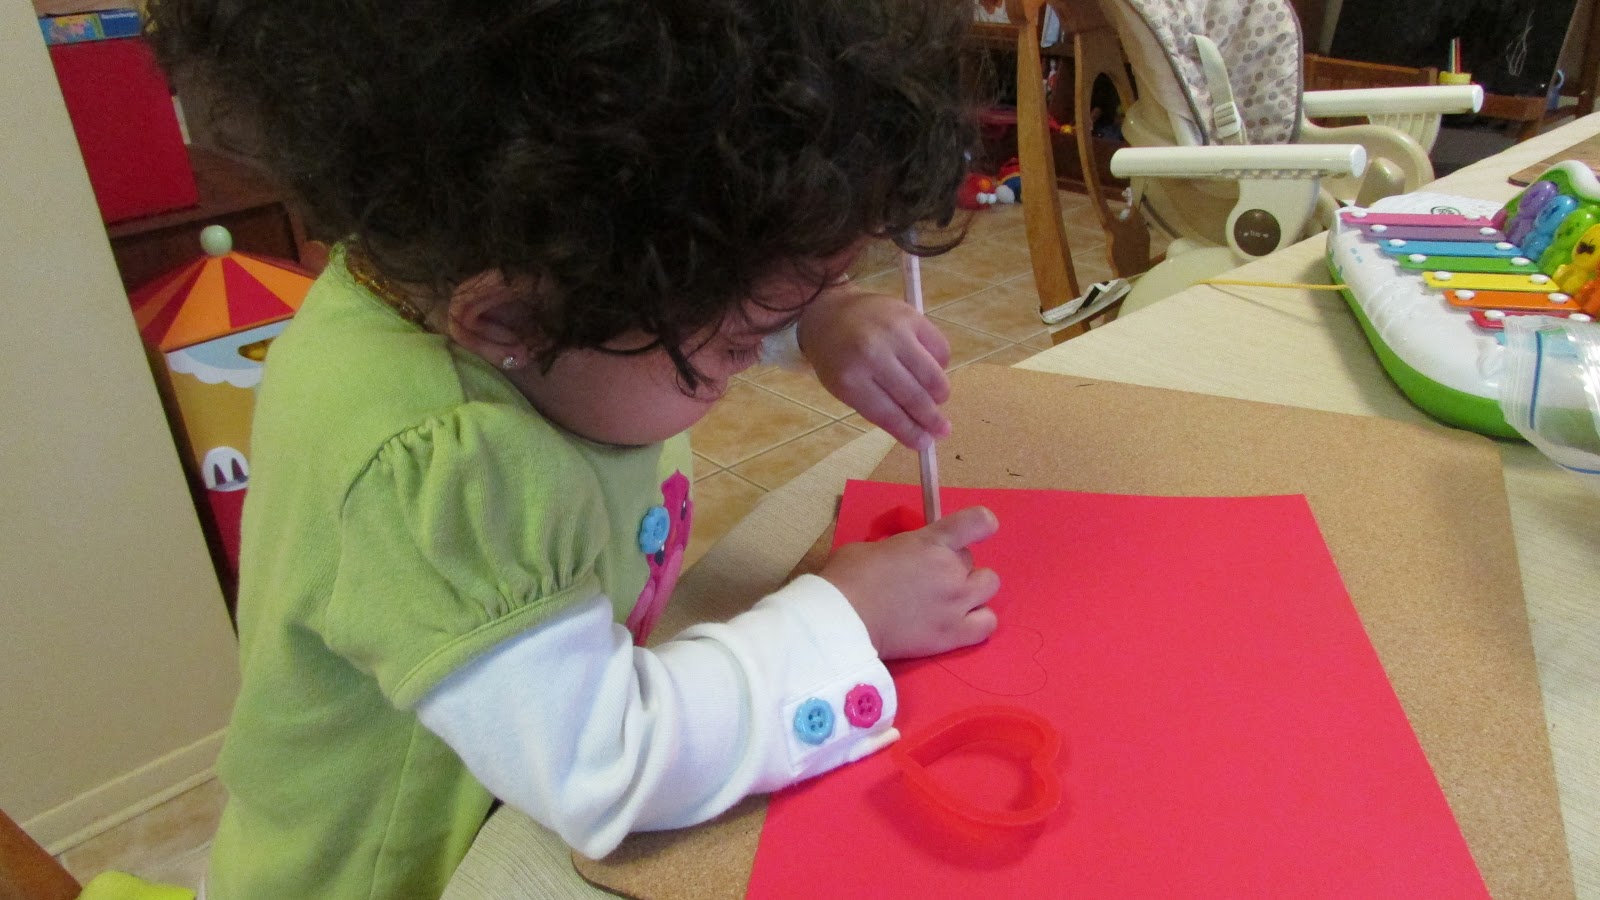
As you can see, the kids got busy right away and started working on their creations. We made heart trees inspired by parenting.com.


They had a little bit too much fun with the glitter...hence the GLITTER toes!


Love was definitely in the air and the day was wonderful. The children had a blast and I'm so grateful we shared the day together.

Now, off to rest and dream happy dreams full of Spring pastels and upcoming projects to celebrate!

xoxo


Thursday, February 14, 2013

Happy Valentine's Day!


Happy Valentine's Day
from our little loves
to yours.

"Above all, love each other deeply..." (1 Peter 4:8)

Monday, February 11, 2013

Watercolor Banner You Can Make With Your Kids


As many of you know, we got hit pretty hard this weekend with a snow storm. Nemo was not messing around and made sure to give us at least a foot of snow and ice. So not only did I get hit with the snow, I also got sick for the first time in FOREVER. Ok, maybe not forever, but it has definitely been a long time.

This weekend, I was looking for an easy, mellow, indoor activity to do with the kids and it dawned on me. They can totally help me make a decoration for our home that will tie into Valentine's Day.

I was inspired by a fellow blogger from thehandmadehome.com who recently designed and decorated a watercolor themed birthday party for her daughter. 

I love this project because
    #1 - you can use materials you probably already have in your home
    #2 - you can use this for multiple occasions (think Easter, Spring, tea party, tie-dye party)
    #3 - your little ones are learning while they're helping

You will need:
1. tea or coffee filters
2. watercolor paints (you can find these almost anywhere, supermarket, craft store, dollar store)
3. paint brushes
4. ribbon or string
5. tape

1. Grab your supplies. We didn't have coffee filters, so we used tea filters instead. 
(Go figure. I almost never drink tea.)
2. Cover your workspace with newspapers. It WILL get wet! Hand over the brushes and paints and let your little artists go to town. They can paint the filters however they'd like.
This can be a great learning opportunity for the young ones who are just starting to identify colors. You can help them point out the colors as they use them. 

3. Next, let your filters dry.

4. Line up the top part of the filter (where it has a fold) to your ribbon. 
Fold over the ribbon and secure with a piece of clear tape.

It will look something like this.

 6. Cut the bottoms into a shape or just leave as is. We cut triangle tips. Finally, hang and enjoy!

The kids will love seeing what they've worked on and the colors are light enough that you can probably keep it up through the Spring if you choose.

xoxo!


Saturday, February 9, 2013

Last Minute Valentines for School Teachers

Just when you thought you were aaaaalll ready for your kid's school function....
BAM!
          Wrong.

I swore I had Valentine's Day all wrapped up in a neat, little "ha-ha, I'm all set" ball. Then, I realize I completely forgot about my son's teachers. One would think, "that's not so bad. Pick up one or two cards." Right?

Wrong,
            again.

For one, my son goes to a creative school where he has two main teachers, but also four other teachers that frequent the classroom. So that's six, plus the school Director. 6 + 1 = 7.

Second, I wouldn't be Marilyn if I just went to the store and picked up a generic card. Boring!

Third, how could I resist creating something that I knew they wouldn't be getting from any other student?

Fourth, how else am I supposed to feed my addiction to crafting?

So I ran off to my local dollar store and picked up a bunch of adorable heart-shaped cookie cutters to create their own custom Valentine's Day cards.

You will need:
1. heart-shaped cookie cutters (we found ours at the Dollar Tree)
2. thin ribbon
3. red, pink or white heavy stock paper
3. pencil for tracing
4. exacto knife
5. paper bag or envelope to put the card in (optional)

Here is a snapshot of everything I used.

1. Cut your paper in half, into two long strips.

 2. Fold each strip in half.

 3. Trace a heart onto the front of the folded card. 

4. Let your little ones learn by allowing them to trace shapes with you! 
(Please keep that exacto knife far away!)

 5. Carefully cut out your heart shape. I found it easier to keep my cookie cutter in place and traced along the outside rim with the knife.

 This is what it will look like.

6. Thread thin ribbon along the top part of your cookie cutter.

7. Punch a hole along the middle fold of the card. Thread your ribbon through the hole and tie into a bow to secure your cookie cutter in the center.

8. You can hand-write or print a simple sentiment on the bottom. We printed a few and glued them onto the front with a glue stick. Lastly, you can place inside a pretty envelope or bag to hand to your child's teachers! 

xoxo!


Wednesday, February 6, 2013

Up, Up, and Away! Kids Cardboard Rocketship Tutorial


It is AMAZING how imaginative kids are. Every week my children teach me to see life totally differently. Whether its pointing out the "turtle" they see in the clouds or sword-fighting to rescue the hidden treasure, they see the world through creative eyes. 

It's no wonder why most education studies show that children thrive on pretend play. In fact, their development depends on it. 

So I should not be surprised then, that my 5 year old envisioned a rocketship when he saw our last shipment of diapers arrive. His eyes grew wide in excitement when he thought of the possibility. 

Easier said than done, but the look on his face was priceless when we were done. And I'm anticipating lots of fun pretend play with this new "toy"!

I will take you through step-by-step on how I made ours. 

You will need:
1. one large appliance box or two smaller boxes (we used two diaper boxes)
2. paint
3. hot glue
4. strong clear tape
5. decorative tape (we used blue painters tape, but duct tape would work great too!)
6. exacto knife
7. foil paper
8. patience (hehe)
(1)
First, paint your boxes. 

(2)
Next, stack the smaller box on top of the larger one. Make sure one side is totally taped and the other side (facing the back) is not. Then, hot glue the smaller box onto the larger one.
Reinforce the inside with strong tape.

(3)
Mark where you will cut any openings.
We decided on only one for the eyes, but you can do as many as you like.

(4)
Mark an "X" on the top of the box. Then cut with your exacto knife. If your box sides are tall enough, you can skip the next step. Ours was not, so we had to add length with aluminum foil. 
You want each triangle side to meet to form your rocket ship peak.

(5)
We added length by folding aluminum foil into long triangles.

(6)
 Tape your aluminum foil triangles to the top triangle sides you just cut on the top of your ship.

 This is how the back will look.

(7)
Next, cut an opening in the back so that your child can stand or kneel comfortably.

(8)
Finally, you can add wings by cutting out large triangle cardboard pieces out of leftover cardboard and covering in aluminum foil and tape.

(9)
Decorate to you and your child's delight! We added painters tape as a final touch. 
Finally, enjoy!!

xoxo!